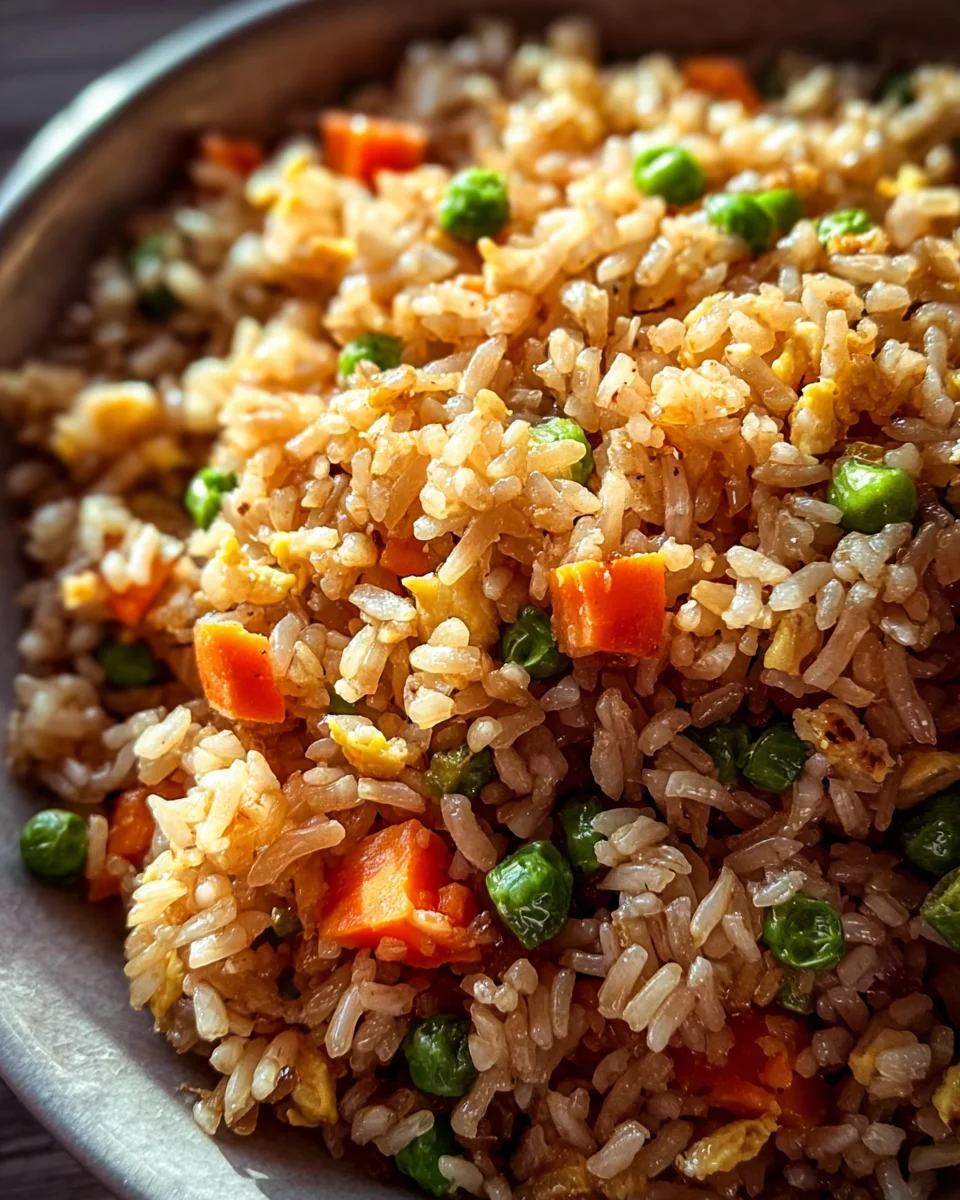
Bring the taste of your favorite hibachi restaurant to your kitchen with this Hibachi-Style Fried Rice recipe! In just 35 minutes, you can create a savory, vibrant dish that’s perfect for any occasion—be it a family dinner, a casual gathering, or even a quick weeknight meal. This recipe beautifully combines cold day-old rice with fresh vegetables, scrambled eggs, and a rich butter-soy sauce mixture to deliver an irresistible umami flavor. Customize it with your favorite proteins or veggies to make it truly your own. Enjoy the simplicity and deliciousness of homemade hibachi-style fried rice today!
Why You’ll Love This Recipe
- Quick Preparation: With just 35 minutes from start to finish, you can whip up this dish in no time.
- Versatile Ingredients: You can easily tailor the recipe by adding your choice of protein or vegetables.
- Flavorful Experience: The combination of butter and soy sauce gives it an authentic hibachi taste.
- Perfect for Leftovers: This dish works wonderfully with day-old rice, making it great for using leftovers.
- Family-Friendly Meal: It’s an engaging dish that kids and adults alike will enjoy.
Tools and Preparation
Before diving into this delicious recipe, gather your tools to ensure a smooth cooking experience.
Essential Tools and Equipment
- Large skillet or wok
- Spatula
- Mixing bowl
- Cutting board
- Knife
Importance of Each Tool
- Large skillet or wok: Provides ample space for frying the rice evenly without overcrowding.
- Spatula: Essential for stirring and mixing ingredients without breaking them apart.
- Mixing bowl: Useful for combining sauces and preparing any prepped ingredients.
Ingredients
For the Rice
- 4 cups cooked short-grain white rice (cold)
For the Vegetables
- 1/2 cup chopped carrots
- 1/2 cup frozen peas
- 1/2 cup diced white onion
For the Egg
- 1 egg
For the Sauce
- 4 tablespoons unsalted butter
- 2 tablespoons low-sodium soy sauce
For Cooking
- 2–3 tablespoons neutral oil (like canola)
Optional Flavor Enhancer
- 2 teaspoons sesame oil for extra flavor
How to Make Hibachi-Style Fried Rice
Step 1: Prepare the Rice
Make sure you cook your rice ahead of time and chill it for at least one hour. Cold day-old rice is essential for achieving that ideal texture.
⭐ Join Thousands of Happy Customers Who Love These Coffee Scoops!
Step 2: Make the Sauce Mixture
In a mixing bowl, combine:
1. 4 tablespoons unsalted butter
2. 2 tablespoons low-sodium soy sauce
Mix until well blended and set aside.
Step 3: Scramble the Egg
In a large skillet or wok, heat 1–2 tablespoons of neutral oil over medium heat. Add:
1. 1 egg
Scramble until fully cooked and then set aside on a plate.
Step 4: Sauté Vegetables
Utilizing the same skillet:
1. Add another tablespoon of neutral oil if needed.
2. Sauté:
– 1/2 cup chopped carrots
– 1/2 cup frozen peas
– 1/2 cup diced white onion
Cook until tender but still vibrant.
Step 5: Fry the Rice
In the same skillet with sautéed vegetables:
1. Add cold rice (4 cups) to the pan.
2. Fry until golden brown, ensuring even heat distribution.
Step 6: Combine Sauce and Rice
Pour in your earlier prepared sauce mixture over the fried rice. Stir thoroughly until every grain is coated.
Step 7: Mix in Eggs and Veggies
Finally, add back in the scrambled egg along with sautéed veggies into the fried rice mixture. Stir until everything is well combined before serving.
Enjoy this delightful Hibachi-Style Fried Rice as a main dish or alongside your favorite protein!
How to Serve Hibachi-Style Fried Rice
Hibachi-Style Fried Rice is a versatile dish that pairs well with various sides and garnishes. Here are some delicious serving suggestions to elevate your meal.
Classic Protein Pairings
- Grilled Chicken: Tender, juicy chicken marinated in soy sauce complements the flavors of the fried rice.
- Shrimp: Quick-cooked shrimp adds a touch of elegance and pairs beautifully with the umami notes.
- Tofu: For a vegetarian option, sautéed tofu provides a great source of protein and absorbs the flavors well.
Flavorful Garnishes
- Sliced Green Onions: A sprinkle of fresh green onions adds color and a mild onion flavor.
- Sesame Seeds: Toasted sesame seeds enhance texture and offer a nutty crunch.
- Sriracha Sauce: For those who enjoy spice, a drizzle of sriracha elevates the dish with heat.
Accompanying Sauces
- Teriyaki Sauce: A sweet and savory teriyaki sauce can be drizzled over the rice for extra flavor.
- Ginger Dressing: This tangy dressing is refreshing and adds brightness to each bite.
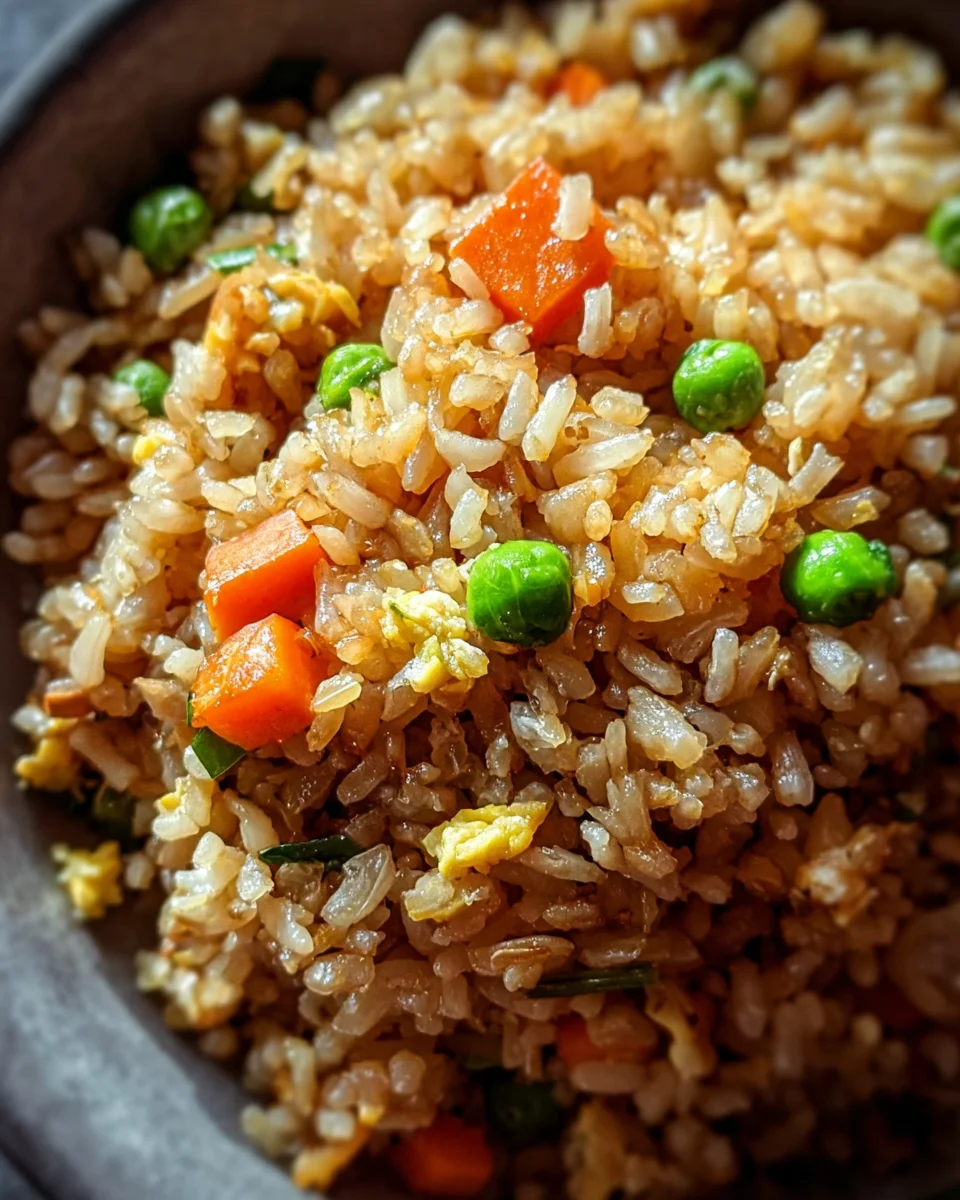
How to Perfect Hibachi-Style Fried Rice
Creating the perfect Hibachi-Style Fried Rice involves attention to detail. Here are some tips to ensure your dish shines.
- Use Day-Old Rice: Cold, day-old rice has less moisture, preventing mushiness when fried.
- Heat Your Pan Properly: Ensure your skillet or wok is hot before adding ingredients to achieve that desirable char.
- Don’t Overcrowd the Pan: Fry in batches if necessary, as overcrowding can steam the ingredients instead of frying them.
- Add Ingredients in Stages: Start with vegetables, then rice, and finally eggs; this layering builds depth in flavor.
- Season Gradually: Taste while cooking and adjust seasoning as needed for balanced flavor throughout.
- Finish with Sesame Oil: Drizzle sesame oil at the end for an aromatic finish that enhances richness.
Best Side Dishes for Hibachi-Style Fried Rice
Pairing side dishes with Hibachi-Style Fried Rice can create a complete meal experience. Here are some excellent options to consider.
- Miso Soup: A warm bowl of miso soup offers a comforting start to your meal and balances flavors nicely.
- Japanese Pickles (Tsukemono): These tangy pickles provide a crunchy contrast that brightens up the meal.
- Edamame Beans: Lightly salted edamame is a nutritious snack that complements your main dish perfectly.
- Seaweed Salad: This refreshing salad brings oceanic flavors and enhances the overall dining experience.
- Tempura Vegetables: Crispy tempura adds texture and variety, making it an appealing side choice.
- Gyoza (Dumplings): These savory dumplings make for an irresistible addition that pairs well with fried rice.
Common Mistakes to Avoid
Cooking hibachi-style fried rice can be simple, but there are common errors that can impact your dish. Here are some mistakes to watch out for.
- Using Fresh Rice: Freshly cooked rice is too moist and sticky for frying. Always use cold, day-old rice for the best texture.
- Overcooking the Veggies: Cooking vegetables for too long can make them mushy. Sauté them until just tender to maintain a crisp texture.
- Neglecting Seasoning: Failing to season properly can result in bland fried rice. Make sure to mix in enough soy sauce and butter for flavor.
- Skipping the Scramble: Not scrambling the egg separately can lead to uneven cooking. Always cook it first, then mix it in at the end.
- Crowding the Pan: Overcrowding the skillet prevents proper frying. Cook in batches if your pan isn’t large enough to ensure even cooking.
Storage & Reheating Instructions
Refrigerator Storage
- Store hibachi-style fried rice in an airtight container.
- It will last up to 4 days in the refrigerator.
Freezing Hibachi-Style Fried Rice
- Place cooled fried rice into freezer-safe bags or containers.
- It can be frozen for up to 3 months.
Reheating Hibachi-Style Fried Rice
- Oven: Preheat to 350°F (175°C) and bake for about 15 minutes, stirring occasionally until heated through.
- Microwave: Heat in a microwave-safe bowl for 2-3 minutes, stirring halfway through to ensure even heating.
- Stovetop: Sauté over medium heat with a splash of water or oil for about 5-7 minutes, stirring frequently until hot.
Frequently Asked Questions
Here are some common questions regarding hibachi-style fried rice.
Can I customize my Hibachi-Style Fried Rice?
Yes! Feel free to add proteins like chicken, shrimp, or tofu, and switch out vegetables based on what you enjoy or have on hand.
What type of rice is best for Hibachi-Style Fried Rice?
Short-grain white rice is ideal as it holds its shape well and provides the right texture when frying.
How do I achieve that signature hibachi flavor?
Use low-sodium soy sauce combined with unsalted butter for a rich umami flavor. Adding sesame oil enhances the taste further!
Is Hibachi-Style Fried Rice gluten-free?
To make it gluten-free, use tamari instead of regular soy sauce, ensuring all ingredients are certified gluten-free.
Final Thoughts
Hibachi-style fried rice is not only delicious but also incredibly versatile. You can easily customize it with your favorite meats or veggies, making it a great dish for any occasion. Try this recipe today and enjoy a delightful taste of hibachi right at home!
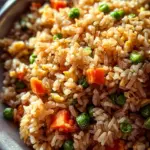
Hibachi-Style Fried Rice
- Total Time: 35 minutes
- Yield: 4 servings 1x
Description
Bring the flavors of your favorite hibachi restaurant straight to your kitchen with this delightful Hibachi-Style Fried Rice recipe. In just 35 minutes, you can create a vibrant, savory dish that’s perfect for any occasion—be it a family dinner, casual gathering, or a quick weeknight meal. This recipe combines cold day-old rice with fresh vegetables and scrambled eggs, all tossed in a rich butter-soy sauce mixture that delivers an irresistible umami flavor. Customize it by adding your choice of proteins or vegetables to make it truly your own. Enjoy the simplicity and deliciousness of homemade hibachi-style fried rice today!
Ingredients
- 4 cups cooked short-grain white rice (cold)
- 1/2 cup chopped carrots
- 1/2 cup frozen peas
- 1/2 cup diced white onion
- 1 egg
- 4 tablespoons unsalted butter
- 2 tablespoons low-sodium soy sauce
- 2–3 tablespoons neutral oil (like canola)
- Optional: 2 teaspoons sesame oil
Instructions
- Prepare the Rice: Cook and chill rice for at least one hour.
- Make the Sauce: Mix butter and soy sauce in a bowl until blended.
- Scramble the Egg: Heat oil in a skillet, scramble the egg, and set aside.
- Sauté Vegetables: In the same skillet, sauté carrots, peas, and onion until tender.
- Fry the Rice: Add cold rice to the skillet and fry until golden brown.
- Combine Sauce and Rice: Pour sauce over fried rice, stirring to coat evenly.
- Mix in Eggs and Veggies: Add back scrambled egg and vegetables; stir until well combined.
- Prep Time: 10 minutes
- Cook Time: 25 minutes
- Category: Main
- Method: Frying
- Cuisine: Japanese
Nutrition
- Serving Size: 1 serving
- Calories: 350
- Sugar: 2g
- Sodium: 520mg
- Fat: 14g
- Saturated Fat: 8g
- Unsaturated Fat: 5g
- Trans Fat: 0g
- Carbohydrates: 48g
- Fiber: 3g
- Protein: 10g
- Cholesterol: 72mg
The Casserole Dish Thousands of Families Can't Cook Without!


Leave a Comment