Red White and Blue Popsicles are the perfect treat for summer gatherings, patriotic celebrations, or a refreshing snack on a hot day. These colorful popsicles not only look stunning but also offer a delightful mix of flavors with healthy ingredients. Easy to make and visually appealing, they are sure to impress friends and family while providing a guilt-free way to cool off.
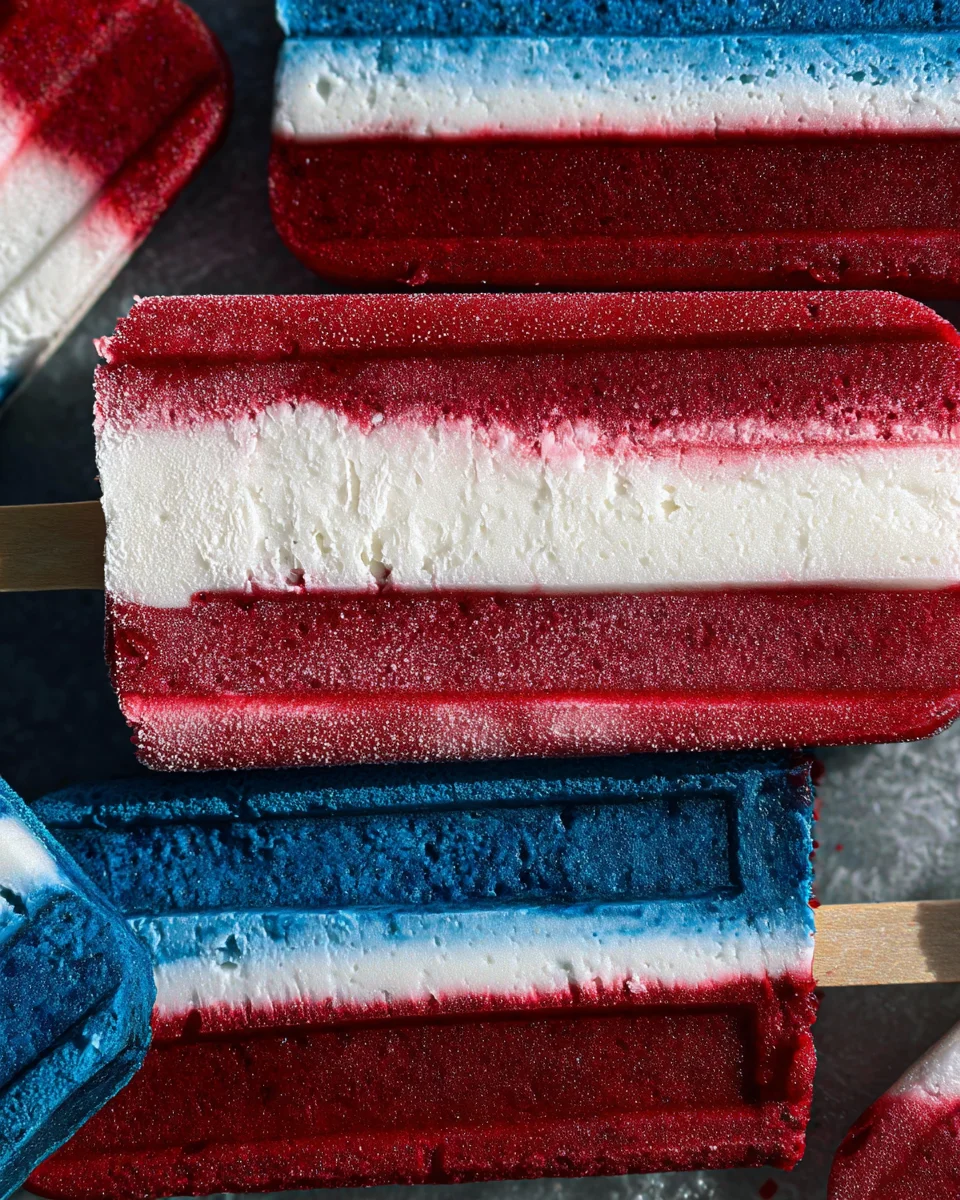
Why You’ll Love This Recipe
- Refreshing Taste: The combination of raspberries, coconut milk, and blueberries creates a delightful flavor experience.
- Healthy Ingredients: Made with fruits and natural sweeteners, these popsicles are a nutritious treat for all ages.
- Vibrant Colors: The red, white, and blue layers make these popsicles visually stunning, perfect for festive occasions like the Fourth of July.
- Easy to Make: Simple steps ensure that you can whip up these treats without any hassle.
- Versatile Options: Customize your popsicles by adjusting sweetness or adding different fruits.
Tools and Preparation
Preparing Red White and Blue Popsicles requires just a few essential tools. Having the right equipment will make the process smoother and more enjoyable.
Essential Tools and Equipment
- High-speed blender
- Ice pop molds
- Popsicle sticks
Importance of Each Tool
- High-speed blender: Ensures that your fruit mixtures are blended smoothly without any chunks.
- Ice pop molds: These are essential for shaping your popsicles into fun forms.
- Popsicle sticks: They provide an easy way to hold your popsicles while enjoying them.
Ingredients
For the Red Layer
- 1 cup raspberries
- 1 tbsp maple syrup (optional)
- 1-2 tbsp water
For the White Layer
- 1 cup canned coconut milk
- 1 tbsp maple syrup (optional)
For the Blue Layer
- ¼ tsp blue spirulina powder
- 1 cup coconut milk
- 1 tbsp maple syrup (optional)
- ¼ cup blueberries (optional, will turn purple blue if added)
How to Make Red White and Blue Popsicles
Step 1: Prepare the Red Layer
- Combine the raspberries, maple syrup, and water in a high-speed blender.
- Blend until very smooth.
- Pour about 1 ½ tablespoons of this mixture into each ice pop mold.
- Place the molds in the freezer for at least 30 minutes.
Step 2: Create the White Layer
- While waiting for the red layer to freeze, combine the coconut milk and maple syrup in a clean blender.
- Blend until smooth.
- Once the red layer is set, add heaping 1 – 1 ½ tablespoons of the white mixture to each mold.
- Return molds to the freezer for at least 2 hours.
Step 3: Make the Blue Layer
- In the clean blender, add coconut milk, blue spirulina, and optional maple syrup. Blend until smooth.
- Remove molds from the freezer after two hours.
- Add the blue layer on top of each mold.
- Insert a popsicle stick into each mold.
- Freeze until firm, about 5 hours.
Step 4: Enjoy Your Popsicles
To remove your popsicles from their molds, run them under hot water for about 10 seconds before serving frozen. Store any remaining popsicles in the freezer for up to a month!
The Salad Bowls Amazon Chose and Customers Love!
How to Serve Red White and Blue Popsicles
Red White and Blue Popsicles are a delightful treat perfect for summer gatherings, holiday celebrations, or simply enjoying on a hot day. Here are some creative ways to serve these colorful popsicles that will impress your guests and elevate your dessert game.
Fun Presentation Ideas
- Layered Dessert Cups: Serve the popsicles in clear cups to showcase their vibrant layers. Add some whipped cream on top for an extra treat.
- Fruit Garnish: Place fresh raspberries or blueberries around the popsicles on a serving platter for a beautiful presentation.
- Themed Party Platters: Create a festive atmosphere by arranging the popsicles alongside red, white, and blue themed snacks like strawberries and yogurt.
Pairing Suggestions
- Coconut Water: Refresh your palate with cold coconut water as a light drink pairing.
- Mint Leaves: Add fresh mint leaves as a garnish for an aromatic touch that complements the fruity flavors.
- Syrup Dipping Sauce: Serve with a side of berry syrup for dipping, enhancing the taste experience.
Serving Temperature Tips
- Cooler Display: Keep popsicles chill by placing them in a cooler filled with ice until ready to serve.
- Hot Weather Tips: If outdoors, consider using insulated holders to keep popsicles from melting too quickly.
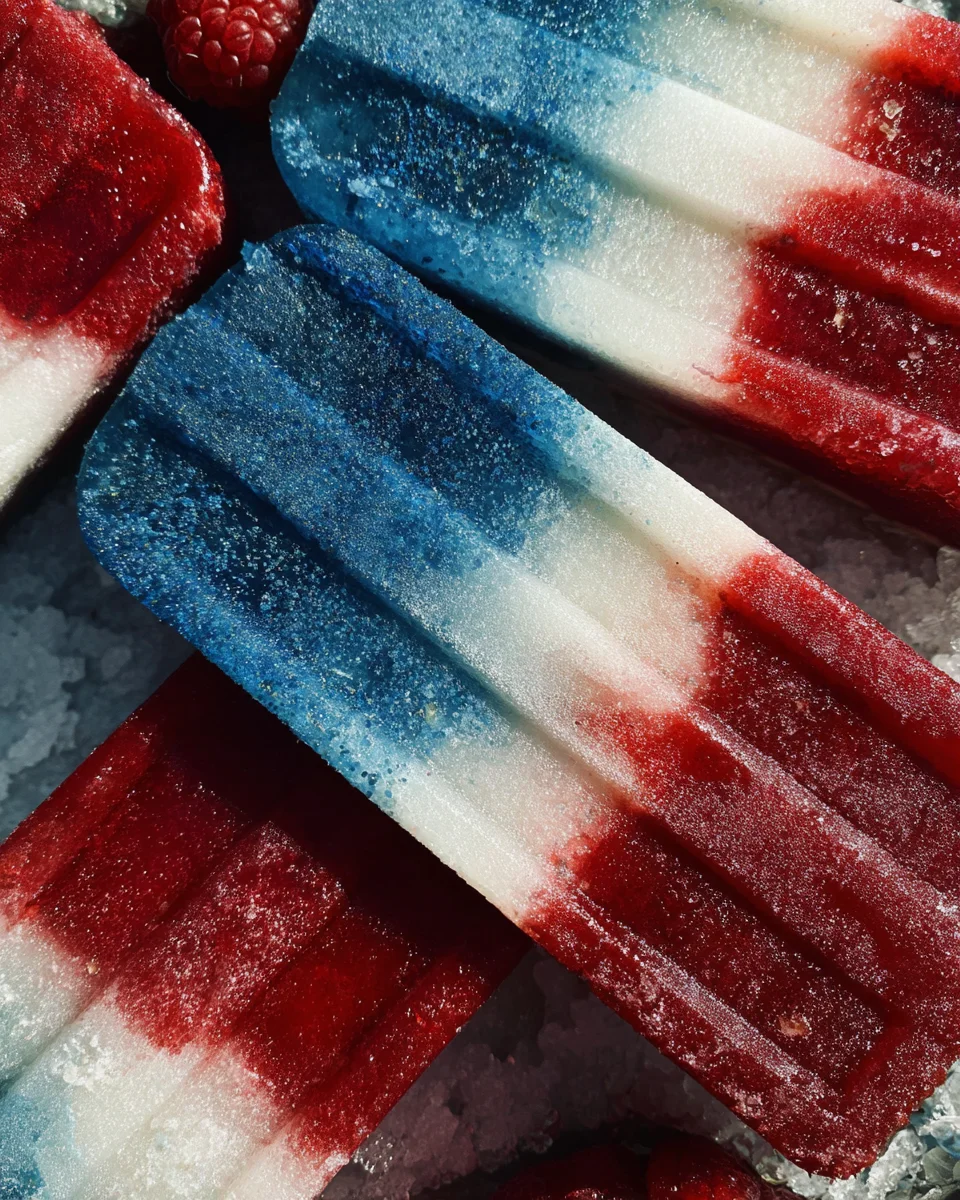
How to Perfect Red White and Blue Popsicles
Making the perfect Red White and Blue Popsicles isn’t just about the ingredients; it’s also about technique. Here are some tips to ensure your popsicles turn out beautifully every time.
- Blend Smoothly: Ensure all layers are blended until smooth for a creamy texture without chunks.
- Freezing Time: Allow each layer to freeze thoroughly before adding the next. This ensures distinct layers and prevents mixing.
- Use Quality Ingredients: Fresh fruits and natural sweeteners enhance flavor; opt for ripe berries and pure maple syrup.
- Experiment with Flavors: Feel free to add other fruits like strawberries or mangoes for additional flavors in each layer.
- Adjust Sweetness: Taste each layer before pouring into molds; adjust sweetness based on your preference by adding more maple syrup if needed.
Best Side Dishes for Red White and Blue Popsicles
When serving Red White and Blue Popsicles, consider pairing them with complementary side dishes that enhance the overall enjoyment of this refreshing treat. Here are some great options:
- Grilled Corn Salad: A light salad featuring grilled corn, tomatoes, and cilantro for a sweet crunch.
- Patriotic Fruit Skewers: Alternating pieces of strawberries, bananas, and blueberries on skewers create an easy-to-eat snack.
- Yogurt Parfaits: Layer yogurt with granola and fruit for a nutritious side that balances sweetness.
- Caprese Salad Bites: Skewered cherry tomatoes, mozzarella balls, and basil drizzled with balsamic glaze make a tasty appetizer.
- Veggie Platter with Hummus: Crunchy vegetables paired with hummus offer a healthy contrast to the sweet popsicles.
- Mini Sandwiches: Make small sandwiches using turkey or ham with cheese; they’re easy finger foods that fit any gathering.
Common Mistakes to Avoid
Make perfect Red White and Blue Popsicles by avoiding these common mistakes.
- Skipping the Blending Step: Ensure all layers are well-blended for a smooth texture. If the mixture is lumpy, your popsicles won’t have a pleasing mouthfeel.
- Not Allowing Layers to Set: Each layer must freeze properly before adding the next. Skipping this step can lead to mixed colors instead of defined layers.
- Using Low-Quality Ingredients: Opt for fresh or high-quality ingredients like ripe raspberries and pure coconut milk. This choice significantly enhances the flavor of your popsicles.
- Forgetting to Adjust Sweetness: Taste each layer before freezing and adjust the sweetness according to your preference. Using too little or too much maple syrup will affect the overall taste.
- Improper Storage After Freezing: Store your popsicles in an airtight container to prevent freezer burn. This ensures they stay fresh and tasty for longer.
Refrigerator Storage
- Store any leftover popsicles in an airtight container in the refrigerator for up to 3 days.
- Keep them away from strong-smelling foods to avoid flavor transfer.
Freezing Red White and Blue Popsicles
- These popsicles can be frozen for up to a month without losing quality.
- Use freezer-safe containers or molds to ensure proper storage.
Reheating Red White and Blue Popsicles
- Oven: Not recommended as popsicles are best enjoyed frozen.
- Microwave: Avoid microwaving directly; it can melt them unevenly. Instead, let them sit at room temperature for a few minutes.
- Stovetop: Again, not ideal for frozen treats, but you can warm them slightly by letting them sit in a warm water bath for a quick soften.
Frequently Asked Questions
What are Red White and Blue Popsicles?
Red White and Blue Popsicles are refreshing frozen treats made with layers of raspberries, coconut milk, and blue spirulina. They are perfect for summer celebrations.
How do I customize my Red White and Blue Popsicles?
You can customize these popsicles by adding different fruits like strawberries or mangoes for added flavor. You may also adjust the sweetness based on your taste preferences.
Can I make these popsicles dairy-free?
Yes! The recipe is naturally dairy-free since it uses coconut milk. Feel free to substitute with other non-dairy milks if desired.
How long do Red White and Blue Popsicles last in the freezer?
These popsicles can last up to one month in the freezer when stored correctly in airtight containers or molds.
Final Thoughts
These Red White and Blue Popsicles are not only visually stunning but also deliciously refreshing, making them an excellent choice for summer gatherings or patriotic holidays. With endless customization options, you can easily tweak this recipe to suit your taste preferences. Try making your own batch today!
Red White and Blue Popsicles
- Total Time: 7 hours 15 minutes
- Yield: Makes approximately 6 popsicles 1x
Description
Red White and Blue Popsicles are the ultimate summer treat, bursting with vibrant colors and refreshing flavors. Perfect for patriotic celebrations like the Fourth of July or a sunny backyard gathering, these homemade popsicles are not only visually stunning but also packed with healthy ingredients. Made from fresh raspberries, creamy coconut milk, and nutrient-rich blue spirulina, they offer a guilt-free way to cool off on hot days. With easy-to-follow steps and endless customization options, you can whip up these delightful frozen snacks in no time. Impress your friends and family with this colorful dessert that is as tasty as it is beautiful!
Ingredients
- 1 cup raspberries
- 1 tbsp maple syrup (optional)
- 1–2 tbsp water
- 1 cup canned coconut milk
- ¼ tsp blue spirulina powder
- 1 tbsp maple syrup (optional)
- ¼ cup blueberries (optional)
Instructions
- For the red layer: Blend raspberries, maple syrup, and water until smooth. Pour into popsicle molds, filling each about 1½ tablespoons. Freeze for at least 30 minutes.
- For the white layer: Mix coconut milk and maple syrup until smooth. Once the red layer is set, add the white mixture on top of the red layer in each mold and freeze for at least 2 hours.
- For the blue layer: Blend coconut milk, blue spirulina, and optional maple syrup until smooth. Remove molds from the freezer and add the blue mixture on top of the white layer. Insert popsicle sticks and freeze until firm (about 5 hours).
- To serve, run molds under warm water for a few seconds to release popsicles.
- Prep Time: 15 minutes
- Cook Time: 7 hours (includes freezing time)
- Category: Dessert
- Method: Freezing
- Cuisine: American
Nutrition
- Serving Size: 1 popsicle (70g)
- Calories: 70
- Sugar: 10g
- Sodium: 10mg
- Fat: 3g
- Saturated Fat: 2g
- Unsaturated Fat: 0g
- Trans Fat: 0g
- Carbohydrates: 11g
- Fiber: 2g
- Protein: 1g
- Cholesterol: 0mg
The Salad Bowls Amazon Chose and Customers Love!

Leave a Comment