Baked Cheesy Grits are a delightful dish that brings comfort to any meal. This creamy, cheesy side is perfect for family gatherings, brunches, or even as a hearty breakfast option. With the richness of cheddar and a hint of cayenne pepper, this recipe is not only flavorful but also easy to prepare. Whether served alongside fried chicken or as part of a cozy breakfast spread, these grits will surely become a favorite on your table.

Why You’ll Love This Recipe
- Creamy Texture: The combination of milk and cheese creates an incredibly smooth and rich consistency.
- Versatile Dish: Baked Cheesy Grits can be enjoyed at any meal. Serve them as a side or make them the star of your brunch.
- Easy to Make: With straightforward steps and minimal prep time, this recipe is perfect for cooks of all skill levels.
- Flavorful Addition: The sharp white cheddar and a touch of cayenne add depth and warmth to every bite.
- Great for Sharing: This recipe serves 6-8, making it ideal for gatherings or family dinners.
Tools and Preparation
Before diving into the cooking process, ensure you have the right tools ready. Having everything prepared will make your cooking experience smoother and more enjoyable.
Essential Tools and Equipment
- A 9 by 9-inch baking dish
- Large saucepan
- Wooden spoon or spatula
- Measuring cups and spoons
Importance of Each Tool
- Baking Dish: A suitable dish ensures even cooking and helps achieve that perfect cheesy crust on top.
- Saucepan: Ideal for combining ingredients without splatter, allowing for easy stirring and control over heat.
- Wooden Spoon or Spatula: These tools are gentle on your cookware and allow for thorough mixing without scratching surfaces.
Ingredients
For the Baked Cheesy Grits
- 2 tablespoons butter, divided
- 6 cups whole milk (any milk will work)
- 1 teaspoon salt
- 1/4 teaspoon cayenne pepper
- 2 cups instant white grits
- 2 cups grated sharp white Cheddar, divided
How to Make Baked Cheesy Grits
Step 1: Preheat the Oven
Preheat your oven to 350 degrees F. This step ensures that your Baked Cheesy Grits cook evenly.
The Salad Bowls Amazon Chose and Customers Love!

Step 2: Prepare the Baking Dish
Lightly grease a 9 by a 9-inch baking dish with 1 tablespoon of the butter. This will help prevent sticking during baking.
Step 3: Boil the Milk Mixture
Heat a large saucepan over medium heat. Add the milk, salt, cayenne pepper, and remaining tablespoon of butter. Bring this mixture to a boil while stirring occasionally.
Step 4: Stir in the Grits
Once boiling, gradually stir in the grits. Reduce the heat to medium-low and continue stirring for about 30 seconds. Allow the mixture to simmer uncovered for 6 to 8 minutes until the grits are tender and creamy.
Step 5: Add Cheese and Transfer to Dish
Remove from heat and stir in one cup of grated sharp white cheddar until melted. Pour this cheesy mixture into your prepared baking dish.
Step 6: Bake Until Golden
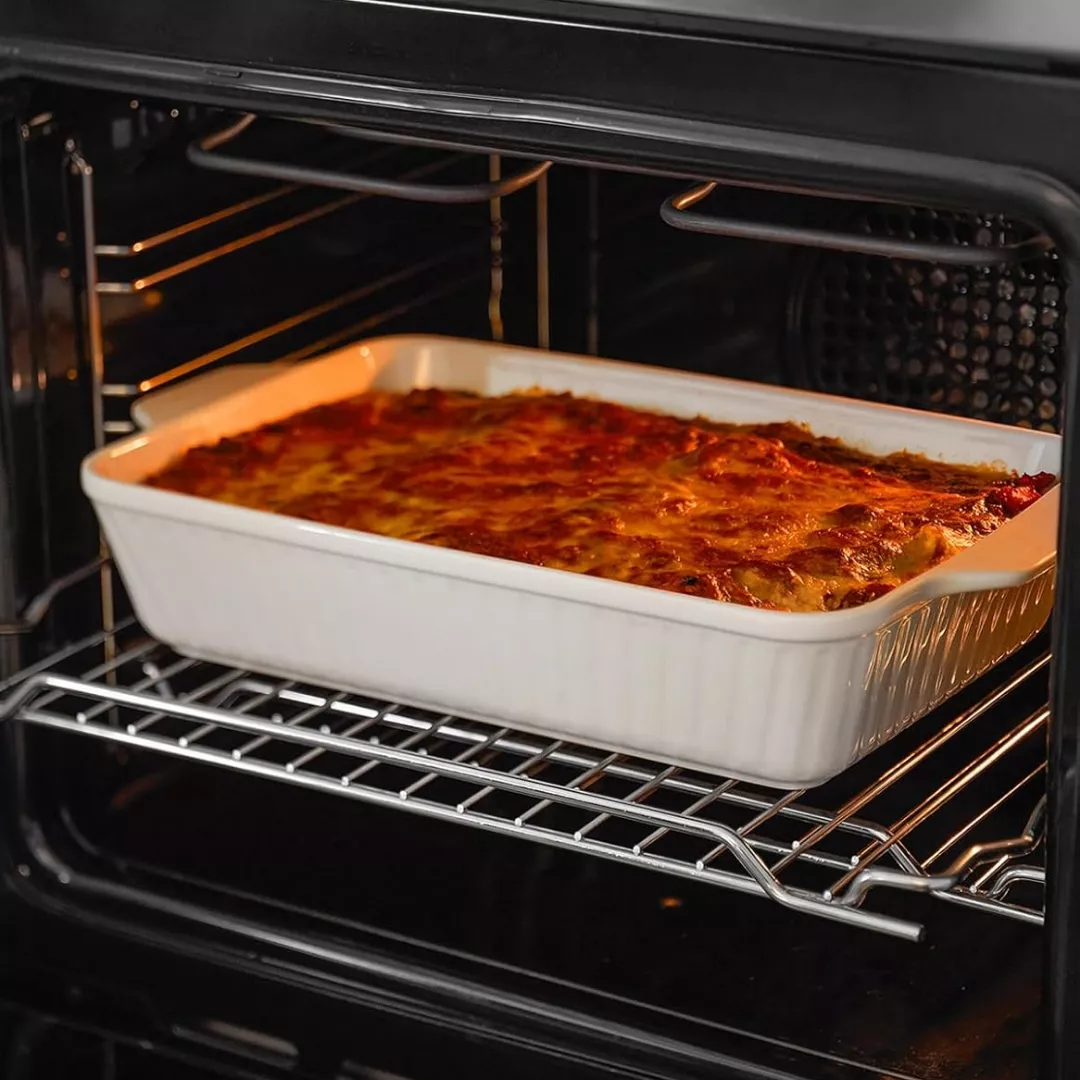
Sprinkle the remaining cheese over the top of the grits. Bake in the preheated oven for 20 to 25 minutes, or until the cheese is melted and slightly golden. Serve hot straight from the oven for maximum deliciousness!
How to Serve Baked Cheesy Grits
Baked cheesy grits are a delicious and versatile dish that can be served in various ways. Whether as a side or a main dish, here are some creative serving suggestions that elevate this classic Southern comfort food.
As a Side Dish
- With Grilled Chicken: Pairing baked cheesy grits with grilled chicken creates a delightful contrast of flavors and textures.
- Alongside Barbecue Ribs: The creamy texture complements the smoky flavors of BBQ ribs perfectly.
- With Roasted Vegetables: Serve with seasonal roasted vegetables for a balanced meal that highlights the grits’ richness.
For Breakfast
- Topped with Eggs: Add fried or poached eggs on top for a hearty breakfast that’s both satisfying and filling.
- With Bacon Crumbles: Sprinkle crispy bacon on top to add a savory crunch that enhances the cheesy flavor.
- Served with Hot Sauce: A dash of hot sauce adds spice, making for an exciting breakfast option.
As a Main Dish
- With Shrimp Creole: This classic pairing turns your cheesy grits into a fulfilling meal rich in flavor and tradition.
- Accompanied by Sausage Gravy: Pouring sausage gravy over the baked cheesy grits transforms them into a comforting brunch dish.

How to Perfect Baked Cheesy Grits
To make your baked cheesy grits truly stand out, consider these simple tips. They will help you achieve the perfect texture and flavor every time.
- Use Fresh Cheese: Freshly grated cheese melts better and provides a creamier texture compared to pre-shredded varieties.
- Adjust Spices: Experiment with different spices like smoked paprika or garlic powder to tailor the flavor profile to your preference.
- Stir Constantly: When cooking the grits, constant stirring ensures they cook evenly and prevents clumping.
- Bake Until Golden: Keep an eye on the baking process; remove them from the oven when the cheese is golden for an appetizing look and taste.
- Let Them Rest: Allow the dish to cool slightly after baking; this helps set the consistency, making it easier to serve.
- Layer Ingredients: Consider layering additional ingredients like cooked sausage or sautéed mushrooms within the grits before baking for added flavor.
Best Side Dishes for Baked Cheesy Grits
Baked cheesy grits make an excellent centerpiece for any meal, but pairing them with complementary sides enhances your dining experience. Here are some great options:
- Collard Greens: These flavorful greens provide a nutritious balance and pair wonderfully with cheesy grits.
- Fried Green Tomatoes: Crispy fried green tomatoes offer a delightful crunch that contrasts beautifully with creamy textures.
- Cajun Shrimp Skewers: Succulent shrimp seasoned with Cajun spices add protein and zest to your meal.
- Cornbread Muffins: Sweet cornbread muffins are perfect for soaking up extra cheese sauce while adding sweetness to your plate.
- Spicy Roasted Cauliflower: This veggie side adds depth and spice, enhancing the overall flavor of your meal without overpowering it.
- Simple Green Salad: A light salad with vinaigrette cuts through the richness of the grits, providing freshness on your plate.
- Sautéed Spinach with Garlic: This quick side dish adds color and nutrients while complementing the cheese’s richness nicely.
- Pickled Jalapeños: For those who love heat, pickled jalapeños offer a tangy kick that pairs well with baked cheesy grits.
Common Mistakes to Avoid
When making Baked Cheesy Grits, even small errors can affect the final dish. Here are some common mistakes to watch out for:
- Skipping the Greasing Step: Failing to grease your baking dish can cause the grits to stick, making serving difficult. Always use butter or cooking spray.
- Using Cold Milk: Adding cold milk to the saucepan can lead to uneven cooking. Warm your milk before adding it to the grits for a smoother texture.
- Not Stirring Constantly: If you stop stirring while cooking the grits, they may clump together or burn. Keep stirring during the cooking process to ensure creaminess.
- Overcooking the Grits: Cooking grits too long can make them mushy. Stick to the recommended cooking time for perfect texture.
- Forgetting to Add Cheese Early: Adding all the cheese at once can result in uneven melting. Reserve some cheese for topping and mix in one cup while still off heat.
Storage & Reheating Instructions
Refrigerator Storage
- Store leftover Baked Cheesy Grits in an airtight container.
- They can last up to 3-4 days in the refrigerator.
Freezing Baked Cheesy Grits
- For longer storage, freeze Baked Cheesy Grits in a freezer-safe container.
- They will keep well for up to 2 months.
Reheating Baked Cheesy Grits
- Oven: Preheat your oven to 350°F and cover with foil. Heat for about 20 minutes or until warmed through.
- Microwave: Use a microwave-safe container and heat on medium power for 2-3 minutes, stirring halfway through.
- Stovetop: Place on low heat in a saucepan, stirring frequently until heated through. You may need to add a splash of milk.
Frequently Asked Questions
If you have questions about Baked Cheesy Grits, you’re not alone! Here are some common inquiries:
Can I use different types of cheese?
Yes! While sharp white cheddar is traditional, feel free to experiment with other cheeses like Monterey Jack or Gouda for different flavors.
How do I make my grits creamier?
To achieve creamier grits, consider using half-and-half instead of regular milk or adding a bit more butter when mixing in the cheese.
Can I add other ingredients?
Absolutely! You can customize your Baked Cheesy Grits by adding cooked bacon, sautéed vegetables, or spices according to your taste preferences.
How do I store leftovers?
Store any leftovers in an airtight container in the refrigerator for up to 3-4 days or freeze them for up to 2 months.
Are Baked Cheesy Grits gluten-free?
Yes! Since grits are made from corn and not wheat, they are naturally gluten-free. Just check that your ingredients are certified gluten-free if necessary.
Final Thoughts
Baked Cheesy Grits is a delicious comfort food that pairs well with many dishes. Its creamy texture and cheesy flavor make it perfect as a side dish or even a hearty breakfast option. Feel free to customize this recipe by adding your favorite ingredients, such as herbs or spices, to suit your taste!

Baked Cheesy Grits
- Total Time: 40 minutes
- Yield: Serves 6-8 1x
Description
Baked Cheesy Grits are a warm and comforting dish that will elevate any meal. This creamy, cheesy delight features the rich flavors of sharp white cheddar and a touch of cayenne pepper, making it the perfect accompaniment for family gatherings, brunches, or even as a hearty breakfast. Simple to prepare and versatile in serving options, these grits can shine as a side dish or take center stage at your next brunch. Whether paired with fried chicken or topped with eggs for breakfast, Baked Cheesy Grits are sure to become a beloved favorite at your table.
Ingredients
- 2 tablespoons butter
- 6 cups whole milk
- 1 teaspoon salt
- 1/4 teaspoon cayenne pepper
- 2 cups instant white grits
- 2 cups grated sharp white cheddar
Instructions
- Preheat oven to 350°F.
- Grease a 9 by 9-inch baking dish with 1 tablespoon butter.
- In a large saucepan over medium heat, combine milk, salt, cayenne pepper, and remaining butter; bring to a boil.
- Gradually stir in grits; reduce heat to medium-low and simmer uncovered for 6-8 minutes until creamy.
- Remove from heat and mix in one cup of cheddar until melted; transfer mixture to the prepared baking dish.
- Top with remaining cheese and bake for 20-25 minutes until golden.
- Prep Time: 10 minutes
- Cook Time: 30 minutes
- Category: Side Dish
- Method: Baking
- Cuisine: Southern
Nutrition
- Serving Size: 1/2 cup (120g)
- Calories: 250
- Sugar: 4g
- Sodium: 450mg
- Fat: 12g
- Saturated Fat: 7g
- Unsaturated Fat: 4g
- Trans Fat: 0g
- Carbohydrates: 30g
- Fiber: 1g
- Protein: 8g
- Cholesterol: 30mg
The Casserole Dish Thousands of Families Can't Cook Without!


Leave a Comment