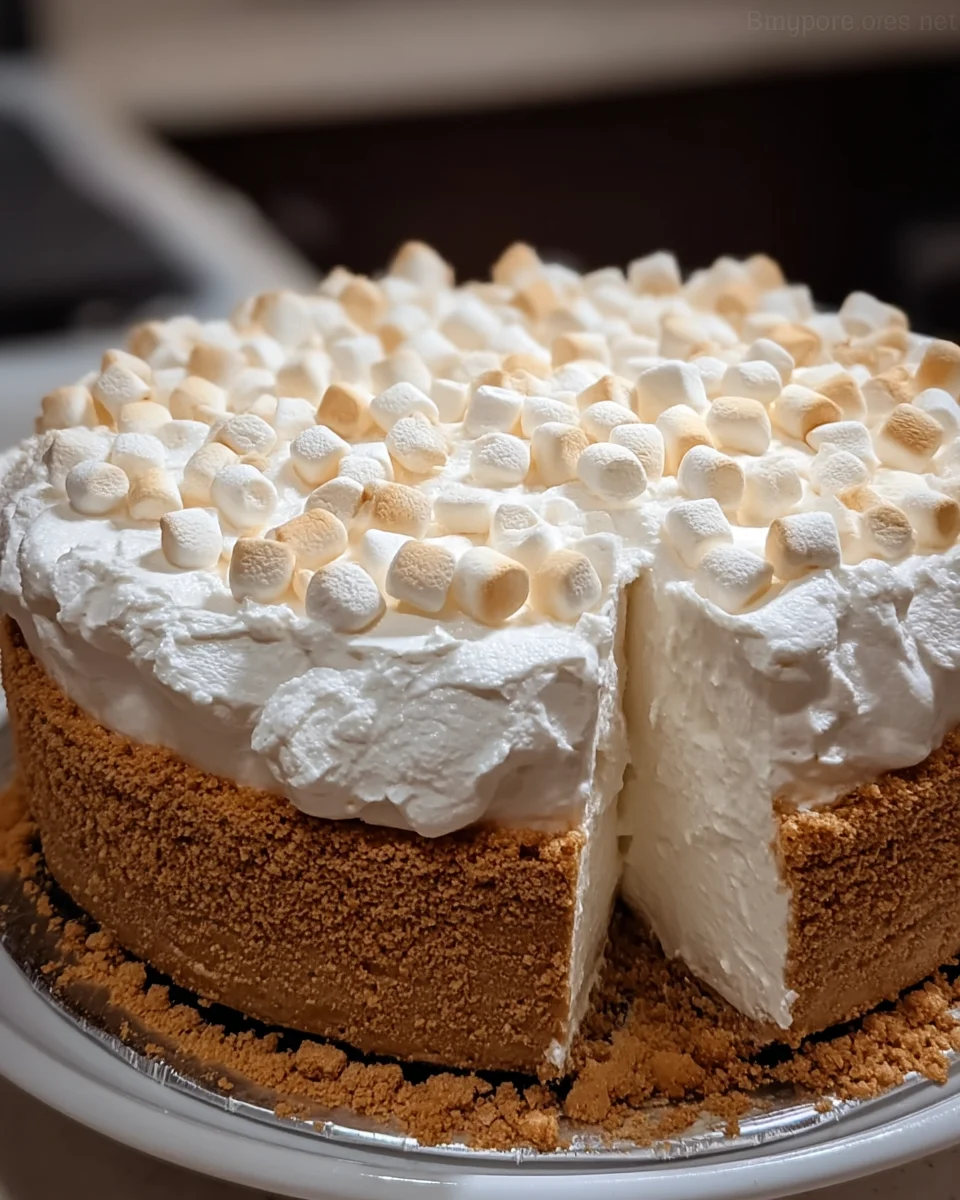
This dreamy and fluffy Marshmallow Cheesecake is the perfect dessert for any occasion. With its creamy marshmallow filling and a delightful graham cracker crust, this no-bake cheesecake is not only easy to make but also impressively delicious. Whether you’re hosting a party, celebrating a birthday, or simply indulging in a sweet treat at home, this cheesecake will surely be a hit.
Why You’ll Love This Recipe
- Easy to Prepare: With simple steps and no baking required, this cheesecake comes together quickly, making it perfect for beginners.
- Deliciously Fluffy: The combination of cream cheese and marshmallow fluff creates a light and airy texture that melts in your mouth.
- Versatile Topping Options: Customize your cheesecake with mini marshmallows or crushed graham crackers for added texture and flavor.
- Perfect for Any Occasion: From summer barbecues to holiday gatherings, this dessert suits all celebrations and will please every palate.
- Make Ahead Convenience: This cheesecake can be prepared in advance and stored in the fridge, allowing you more time to enjoy the event.
Tools and Preparation
To make your Marshmallow Cheesecake successfully, you’ll need a few essential tools. Having the right equipment will streamline your preparation process.
Essential Tools and Equipment
- 9-inch springform pan
- Mixing bowls
- Electric mixer
- Rubber spatula
- Measuring cups and spoons
Importance of Each Tool
- 9-inch springform pan: This allows for easy removal of the cheesecake without damaging its delicate structure.
- Electric mixer: A must-have for achieving smooth, creamy textures when blending the filling ingredients.
- Rubber spatula: Perfect for folding ingredients gently without deflating that airy marshmallow mixture.
Ingredients
This dreamy, fluffy, no-bake Marshmallow Whip Cheesecake features a graham cracker crust, creamy marshmallow filling, and a fluffy marshmallow topping.
The Casserole Dish Thousands of Families Can't Cook Without!
For the Crust
- 1 ½ cups graham cracker crumbs
- ¼ cup granulated sugar (for crust)
- ½ cup unsalted butter, melted
For the Filling
- 16 oz cream cheese, softened
- 1 cup powdered sugar
- 1 tsp vanilla extract
- 1 ½ cups marshmallow fluff
- 1 cup heavy cream, whipped
For the Topping
- 1 cup marshmallow fluff (for topping)
- 1 cup heavy cream, whipped (for topping)
- Mini marshmallows or crushed graham crackers (optional)
How to Make Marshmallow Cheesecake
Step 1: Prepare the Crust
- In a mixing bowl, combine graham cracker crumbs, granulated sugar, and melted butter. Mix until well combined.
- Press the mixture firmly into the bottom of a 9-inch springform pan to create an even crust.
- Place the crust in the refrigerator to chill while you prepare the filling.
Step 2: Make the Filling
- In another bowl, beat together softened cream cheese and powdered sugar until smooth and creamy.
- Add in vanilla extract and marshmallow fluff, mixing until fully incorporated.
- Gently fold in the whipped heavy cream, taking care not to deflate it too much.
Step 3: Assemble the Cheesecake
- Pour the filling over your chilled crust in the springform pan.
- Smooth out the top with a spatula before placing it back in the refrigerator to set for at least 4 hours.
Step 4: Prepare the Topping
- In a clean bowl, combine remaining marshmallow fluff with whipped heavy cream. Mix until well blended.
- Spread this fluffy topping over your set cheesecake evenly.
Step 5: Garnish and Chill
- Optionally sprinkle mini marshmallows or crushed graham crackers on top for garnish.
- Chill for an additional 1-2 hours before serving for optimal flavor and texture.
Now you’re ready to delight your friends and family with this irresistible Marshmallow Cheesecake!
How to Serve Marshmallow Cheesecake
Marshmallow Cheesecake is a delightful dessert that can be enjoyed in various ways. Here are some serving suggestions to enhance your cheesecake experience.
Classic Slice
- Serve chilled slices of the cheesecake topped with a dollop of whipped cream for a traditional approach.
Fruit Compote
- Drizzle a warm fruit compote, such as raspberry or blueberry, over each slice for a fruity contrast.
Chocolate Sauce
- Add a generous drizzle of chocolate sauce on top for a rich and decadent touch.
Mini Cheesecake Cups
- Create individual servings by layering the cheesecake filling in small cups, topped with mini marshmallows and graham cracker crumbs.
Coffee Pairing
- Pair each slice with a cup of coffee or espresso to balance the sweetness and enhance flavors.
Ice Cream Side
- Serve alongside a scoop of vanilla ice cream for an extra creamy texture and flavor combination.
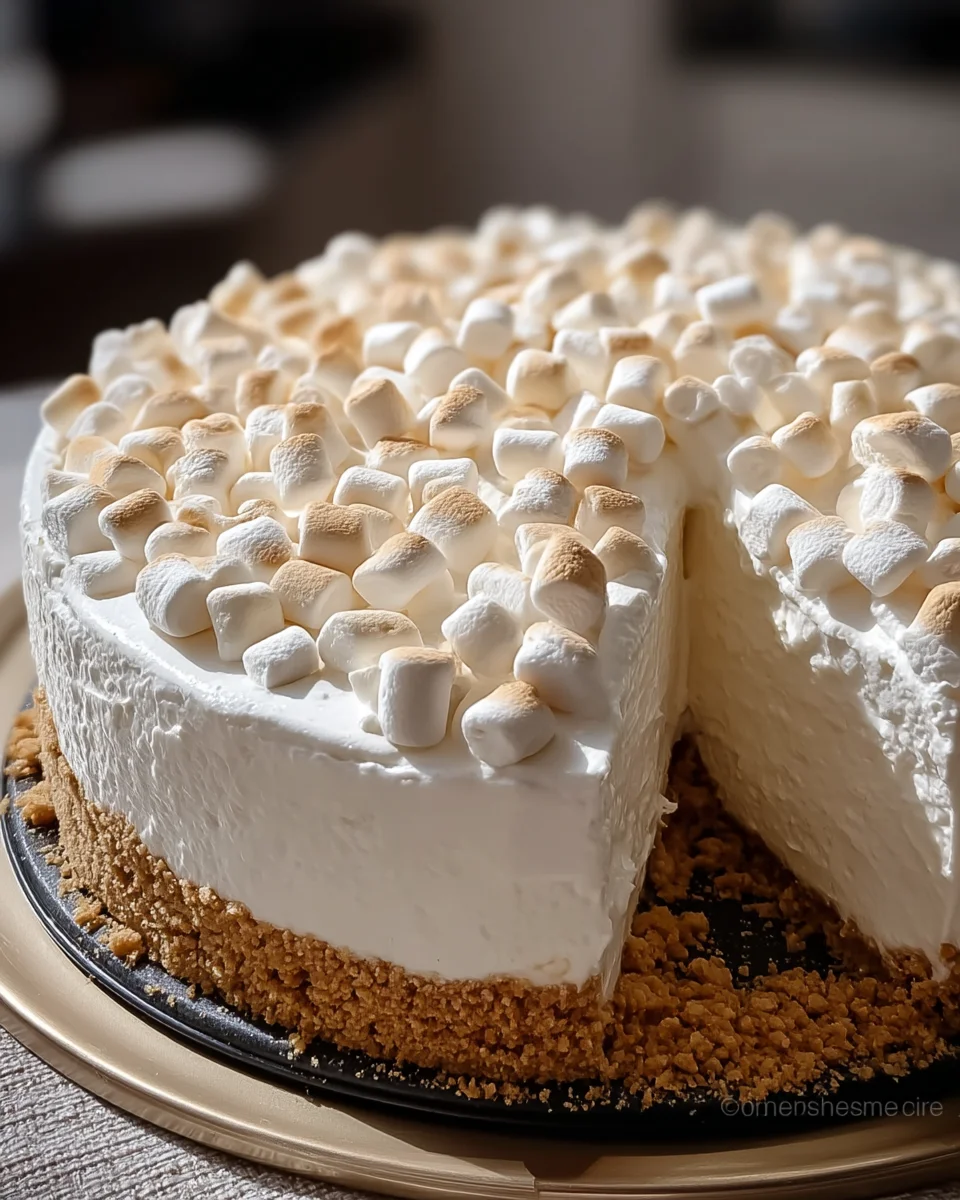
How to Perfect Marshmallow Cheesecake
Creating the perfect Marshmallow Cheesecake requires attention to detail. Here are some tips to ensure your cheesecake turns out great every time.
- Use room temperature ingredients: Ensure your cream cheese is softened at room temperature for easier mixing and a smoother texture.
- Fold gently: When combining whipped cream into the filling, fold gently to retain its lightness and fluffiness.
- Chill thoroughly: Allow the cheesecake to set in the refrigerator for at least 4 hours; overnight chilling is even better for flavor development.
- Avoid overmixing: Overmixing can lead to cracks in your cheesecake, so mix just until combined.
Best Side Dishes for Marshmallow Cheesecake
Pairing side dishes with your Marshmallow Cheesecake can elevate your dessert experience. Here are some tasty options:
- Fresh Berries: A mix of strawberries, blueberries, and raspberries adds freshness and acidity that complements the cheesecake perfectly.
- Chocolate-Covered Strawberries: These sweet treats pair beautifully with the marshmallow flavor while adding a touch of elegance.
- Coconut Macaroons: Chewy coconut macaroons offer a contrasting texture that enhances the creamy cheesecake.
- Fruit Salad: A light fruit salad made with seasonal fruits provides a refreshing balance to the richness of the cheesecake.
- Nutty Biscotti: Crunchy biscotti provide a delightful crunch when paired with each creamy bite of cheesecake.
- Caramel Sauce: A drizzle of warm caramel sauce adds sweetness and depth, making each bite even more indulgent.
Common Mistakes to Avoid
Making a Marshmallow Cheesecake can be simple, but a few common mistakes can compromise the final result. Here are some pitfalls to avoid:
- Skipping the chilling time: Not allowing the cheesecake to set properly in the refrigerator can lead to a runny filling. Always chill for at least 4 hours.
- Overmixing ingredients: This can introduce too much air into your filling, making it less dense. Mix gently when incorporating whipped cream and marshmallow fluff.
- Not using room temperature cream cheese: Cold cream cheese can lead to lumps in your cheesecake. Make sure it’s softened before mixing.
- Ignoring crust preparation: A poorly pressed crust can crumble when served. Take your time to press it firmly into the pan.
- Forgetting to garnish: While not essential, garnishes like mini marshmallows or crushed graham crackers enhance presentation. Don’t skip this step!
Storage & Reheating Instructions
Refrigerator Storage
- Store any leftovers in an airtight container.
- The Marshmallow Cheesecake will keep well for up to 5 days.
Freezing Marshmallow Cheesecake
- Wrap the cheesecake tightly in plastic wrap and then aluminum foil.
- It can be frozen for up to 2 months. Thaw in the refrigerator before serving.
Reheating Marshmallow Cheesecake
- Oven: Preheat to 300°F (150°C) and warm for about 10-15 minutes just until slightly softened.
- Microwave: Heat on low power in short bursts of 10-15 seconds, checking frequently.
- Stovetop: Place a slice in a skillet over low heat, covering it with a lid for even warming.
Frequently Asked Questions
What makes a Marshmallow Cheesecake different from regular cheesecake?
A Marshmallow Cheesecake features marshmallow fluff as a key ingredient, giving it a unique light and fluffy texture compared to traditional cheesecakes.
Can I use low-fat cream cheese?
Yes, you can substitute low-fat cream cheese, but keep in mind that it may alter the creaminess and overall taste of your cheesecake.
How do I make my Marshmallow Cheesecake more flavorful?
You can add flavoring extracts like almond or coconut, or mix in fruit purees for extra taste.
Is there a way to customize my Marshmallow Cheesecake?
Absolutely! You can incorporate toppings such as chocolate drizzle or fruit slices, or even mix in crushed cookies into the filling.
How long does it take to make this dessert?
The prep time for this Marshmallow Cheesecake is around 25 minutes, but don’t forget about the chilling time of at least 4 hours!
Final Thoughts
This delightful Marshmallow Cheesecake is not only easy to make but also incredibly versatile. Its creamy texture and sweet flavor make it perfect for any occasion. Feel free to customize with different toppings or flavors to suit your taste!
Marshmallow Cheesecake
- Total Time: 0 hours
- Yield: Approximately 12 servings 1x
Description
Indulge in the luscious delight of our Marshmallow Cheesecake, a creamy, no-bake dessert that is sure to impress! With its fluffy marshmallow filling nestled atop a buttery graham cracker crust, this cheesecake is not only easy to make but also incredibly delicious. Perfect for any celebration—be it birthdays, holidays, or just a sweet treat at home—this dreamy dessert will have everyone coming back for seconds. Its light texture and customizable toppings mean you can adapt it to suit your taste or the occasion. Get ready to wow your guests with this irresistible Marshmallow Cheesecake!
Ingredients
- 1 ½ cups graham cracker crumbs
- ¼ cup granulated sugar
- ½ cup unsalted butter, melted
- 16 oz cream cheese, softened
- 1 cup powdered sugar
- 1 tsp vanilla extract
- 1 ½ cups marshmallow fluff
- 1 cup heavy cream, whipped
Instructions
- Prepare the crust by mixing graham cracker crumbs, granulated sugar, and melted butter in a bowl. Press firmly into a 9-inch springform pan and chill.
- For the filling, beat cream cheese and powdered sugar until smooth. Add vanilla and marshmallow fluff; mix until combined. Gently fold in the whipped heavy cream.
- Pour the filling over the chilled crust and smooth the top. Refrigerate for at least 4 hours to set.
- For the topping, mix remaining marshmallow fluff with whipped heavy cream and spread over the cheesecake once set.
- Optionally garnish with mini marshmallows or crushed graham crackers before chilling again.
- Prep Time: 25 minutes
- Cook Time: None
- Category: Dessert
- Method: No-Bake
- Cuisine: American
Nutrition
- Serving Size: 1 slice (approximately 1/12 of cake)
- Calories: 340
- Sugar: 23g
- Sodium: 130mg
- Fat: 24g
- Saturated Fat: 14g
- Unsaturated Fat: 8g
- Trans Fat: 0g
- Carbohydrates: 31g
- Fiber: <1g
- Protein: 4g
- Cholesterol: 65mg
Thousands of Happy Customers Can't Be Wrong About These Bowls!

Leave a Comment