These Cheesy Garlic Pesto Chicken Sliders are the ultimate crowd-pleaser! With their gooey cheese, flavorful garlic, and herby pesto, they’re perfect for game day, potlucks, or a simple weeknight dinner. These sliders are easy to prepare ahead of time and are sure to vanish quickly at any gathering.

Why You’ll Love This Recipe
- Flavor Explosion: The combination of garlic, pesto, and melted mozzarella creates a delicious bite that everyone will love.
- Easy Preparation: With just a few simple steps, you can whip up these sliders in no time.
- Versatile Serving: Ideal as appetizers for parties or a main dish for family dinners—these sliders fit any occasion.
- Make-Ahead Friendly: Prepare them in advance and bake just before serving for stress-free entertaining.
- Kid-Friendly: Even picky eaters will enjoy these cheesy delights—perfect for family gatherings!
Tools and Preparation
To make these Cheesy Garlic Pesto Chicken Sliders efficiently, you’ll need some essential kitchen tools.
Essential Tools and Equipment
- Baking pan
- Small mixing bowl
- Knife
- Cutting board
- Brush
Importance of Each Tool
- Baking pan: Provides the right size and shape to hold all your sliders together while baking.
- Small mixing bowl: Perfect for combining the garlic butter mixture that adds flavor to your sliders.
Ingredients
For the Sliders
- 1 (12-count) package slider rolls
- 6 tablespoons unsalted butter, melted
- 4 cloves garlic, finely minced
- 2 teaspoons fresh parsley, minced
- ⅔ cup basil pesto (divided, homemade or store-bought)
- 2 cups cooked and shredded chicken (rotisserie chicken works great)
- 1½ cups shredded mozzarella cheese
- Salt and pepper, to taste
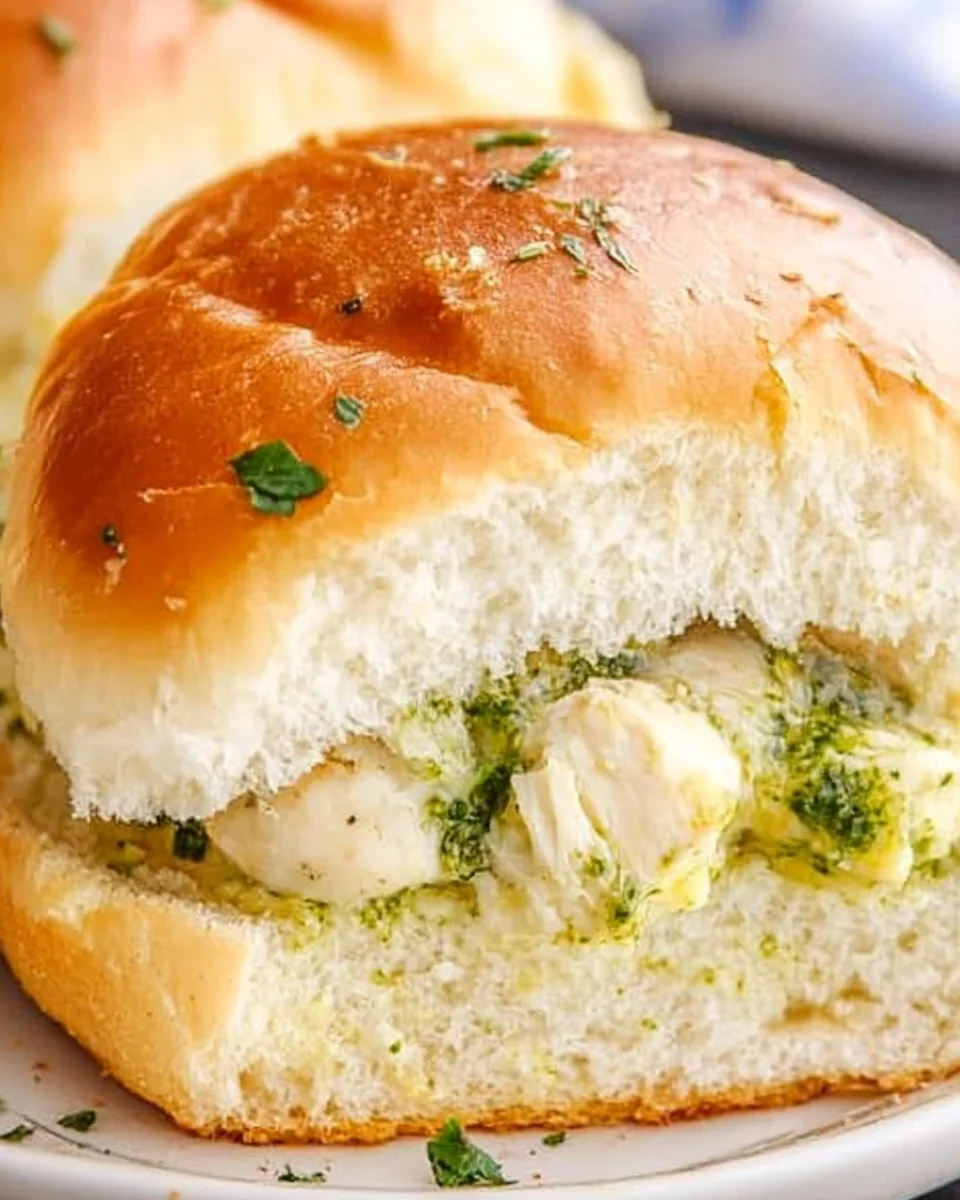
How to Make Cheesy Garlic Pesto Chicken Sliders
Step 1: Preheat the Oven
Preheat your oven to 375°F (190°C). This ensures that your sliders bake evenly.
Thousands of Happy Customers Can't Be Wrong About These Bowls!
Step 2: Prepare the Baking Pan
Lightly grease a 9×13-inch baking pan with cooking spray or butter. This prevents the sliders from sticking.
Step 3: Slice the Slider Rolls
Carefully slice the slider rolls horizontally (like a sandwich bun), keeping the tops and bottoms intact as single pieces.
Step 4: Assemble the Bottom Layer
Place the bottom half of the rolls in the prepared pan. This serves as your base.
Step 5: Mix Garlic Butter
In a small bowl, stir together the melted butter, minced garlic, and chopped parsley. Set this flavorful mixture aside.
Step 6: Add Pesto & Chicken
Spread half of the pesto evenly over the bottom half of the rolls. Layer the shredded chicken over this pesto layer.
Step 7: Cheese it Up!
Sprinkle shredded mozzarella cheese over the chicken layer. The more cheese, the better!
Step 8: Top with Pesto & Rolls
Spread the remaining pesto over the cut side of the top half of the rolls. Place them on top of the cheese layer.
Step 9: Brush with Garlic Butter
Using a brush, apply the garlic butter mixture generously over the tops of the rolls. Sprinkle with salt and pepper if desired.
Step 10: Bake Your Sliders
Cover loosely with foil and bake for about 10 minutes. After that time, remove foil and bake another 5–10 minutes until cheese is fully melted and tops are golden brown.
Step 11: Serve Warm
Let cool slightly before slicing into individual sliders. Enjoy them warm for maximum gooeyness!
How to Serve Cheesy Garlic Pesto Chicken Sliders
Cheesy Garlic Pesto Chicken Sliders are versatile and can be served in various ways to enhance your dining experience. Whether it’s a casual get-together or a festive gathering, these sliders are sure to impress.
Casual Gatherings
- On a Platter: Arrange the sliders on a large platter for easy serving. Add some fresh basil as garnish for a pop of color.
- With Dipping Sauces: Serve with marinara or ranch dressing on the side for dipping. This adds extra flavor and fun!
Game Day Snacks
- Buffalo Sauce Drizzle: Drizzle some buffalo sauce over the sliders before serving for an added kick. This pairs well with the cheesy goodness.
- Chips and Dip: Offer tortilla chips and guacamole as light snacks alongside the sliders, creating a festive game day spread.
Family Dinner
- With Salad: Pair these sliders with a light green salad. A simple vinaigrette will complement the richness of the sliders.
- As a Main Course: Serve them as the main attraction at dinner, allowing everyone to customize their own slider with additional toppings like jalapeños or extra cheese.
How to Perfect Cheesy Garlic Pesto Chicken Sliders
Getting your Cheesy Garlic Pesto Chicken Sliders just right is easier than you think. Follow these tips for delicious results every time.
- Use Fresh Ingredients: Choose fresh garlic and high-quality pesto for the best flavor. Fresh ingredients make all the difference in taste.
- Don’t Overbake: Keep an eye on your sliders while baking. Remove them as soon as the cheese is melted and bubbly to ensure they stay moist.
- Customize Your Cheese: While mozzarella is classic, try using provolone or pepper jack cheese for different flavor profiles.
- Let Them Rest: Allow the sliders to cool slightly before slicing. This helps keep everything together when serving.
- Experiment with Toppings: Feel free to add toppings like sliced tomatoes or arugula for extra freshness and crunch.
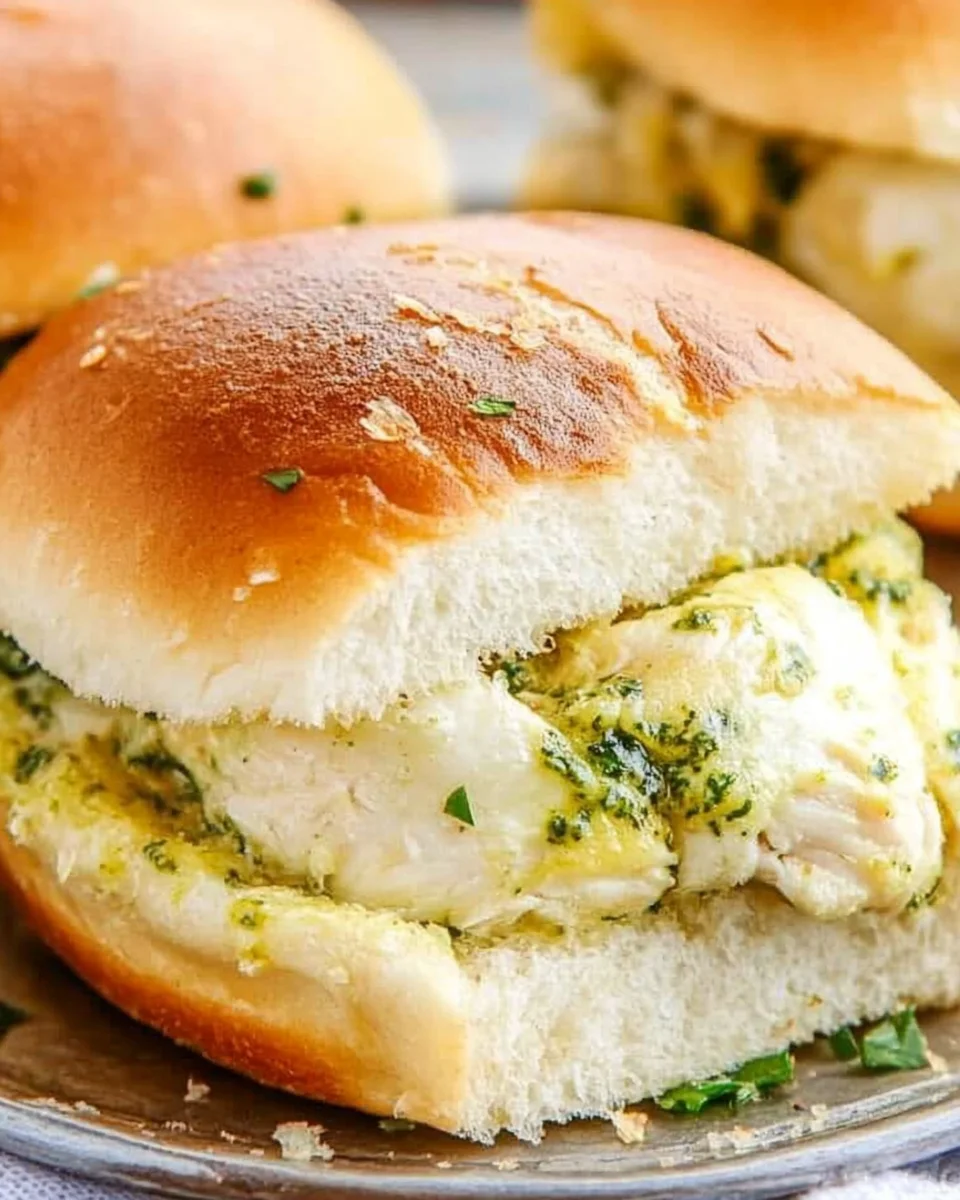
Best Side Dishes for Cheesy Garlic Pesto Chicken Sliders
Serving side dishes with your Cheesy Garlic Pesto Chicken Sliders can elevate your meal. Here are some great options that pair well with these tasty bites.
- Garlic Bread: A classic side that complements the garlic flavor in the sliders; perfect for soaking up any leftover sauces.
- Caesar Salad: Crisp romaine lettuce topped with Caesar dressing adds freshness and balances out the rich flavors of the sliders.
- Vegetable Platter: Fresh veggies like carrots, celery, and bell peppers served with hummus provide a crunchy contrast.
- Sweet Potato Fries: These offer a sweet and savory combination, making them a delightful choice alongside your sliders.
- Coleslaw: A tangy coleslaw adds crunch and acidity, cutting through the cheesiness of the sliders beautifully.
- Potato Wedges: Crispy potato wedges seasoned with herbs make for a hearty side that everyone will love.
Common Mistakes to Avoid
Making Cheesy Garlic Pesto Chicken Sliders can be a breeze, but avoiding common mistakes will help you create the best dish.
- Overstuffing the sliders: Adding too much chicken or cheese can make the sliders difficult to handle. Stick to the recommended amounts for a perfect bite.
- Skipping the garlic butter: This mixture adds flavor and moisture. Don’t skip it; brush it generously on top before baking for that golden finish.
- Not letting them cool: Cutting into your sliders immediately after baking can cause the insides to spill out. Let them cool for a few minutes for easy slicing.
- Ignoring seasoning: Failing to season your chicken or skipping the salt and pepper can result in bland sliders. Always taste and adjust seasoning as needed.
- Using stale rolls: Fresh slider rolls are key for texture and taste. Avoid using old bread that could ruin your sliders’ appeal.
Refrigerator Storage
- Store leftover Cheesy Garlic Pesto Chicken Sliders in an airtight container.
- They will stay fresh for up to 3 days in the fridge.
Freezing Cheesy Garlic Pesto Chicken Sliders
- Wrap individual sliders tightly in plastic wrap or aluminum foil.
- Place wrapped sliders in a freezer-safe bag or container to prevent freezer burn.
- They can be frozen for up to 2 months.
Reheating Cheesy Garlic Pesto Chicken Sliders
- Oven: Preheat to 350°F (175°C). Cover with foil and bake for about 10-15 minutes until heated through.
- Microwave: Place one slider on a microwave-safe plate and heat for about 30-40 seconds, checking until warm.
- Stovetop: Heat a skillet over medium heat and place sliders cut-side down. Cover with a lid and heat for about 5 minutes until warmed through.

Frequently Asked Questions
Can I make Cheesy Garlic Pesto Chicken Sliders ahead of time?
Yes, you can prepare them ahead. Assemble the sliders without baking, cover them tightly, and store them in the fridge. Bake just before serving!
What type of chicken should I use?
Rotisserie chicken is perfect because it’s already cooked and adds great flavor. You can also use grilled or baked chicken if preferred.
Can I customize the ingredients?
Absolutely! Feel free to swap mozzarella with other cheeses like cheddar or gouda, or use different herbs in place of parsley.
How do I make these Cheesy Garlic Pesto Chicken Sliders vegetarian?
You can replace chicken with sautéed mushrooms or roasted vegetables mixed with pesto for a delicious vegetarian option.
What sides pair well with these sliders?
These sliders go great with a side salad, sweet potato fries, or even potato chips for an easy meal!
Final Thoughts
Cheesy Garlic Pesto Chicken Sliders are not only delicious but versatile as well. They are perfect for gatherings, game days, or casual dinners at home. Feel free to customize them with your favorite ingredients or sides. Give this recipe a try—you won’t be disappointed!
Cheesy Garlic Pesto Chicken Sliders
- Total Time: 35 minutes
- Yield: Serves approximately 12 sliders 1x
Description
Indulge in the delectable taste of Cheesy Garlic Pesto Chicken Sliders, the perfect crowd-pleasing appetizer for any occasion. With layers of gooey mozzarella, zesty garlic, and aromatic basil pesto enveloping tender shredded chicken, these sliders are sure to be a hit at your next game day gathering or family dinner. Easy to prepare ahead of time, you can pop them in the oven just before serving for an irresistibly warm and cheesy treat that will have everyone coming back for more!
Ingredients
- 12 slider rolls
- 6 tablespoons unsalted butter
- 4 cloves garlic, minced
- 2 teaspoons fresh parsley, minced
- ⅔ cup basil pesto
- 2 cups cooked shredded chicken (rotisserie works great)
- 1½ cups shredded mozzarella cheese
- Salt and pepper to taste
Instructions
- Preheat oven to 375°F (190°C).
- Grease a 9×13-inch baking pan.
- Slice slider rolls horizontally, keeping tops and bottoms intact.
- Place bottom halves in the baking pan.
- Mix melted butter, minced garlic, and parsley in a bowl; set aside.
- Spread half of the pesto on the roll bottoms, add shredded chicken, and top with mozzarella cheese.
- Spread remaining pesto on the cut side of the top rolls; place on top of cheese layer.
- Brush garlic butter generously over tops; season with salt and pepper if desired.
- Cover with foil and bake for 10 minutes; uncover and bake another 5–10 minutes until golden brown.
- Cool slightly before slicing into individual sliders.
- Prep Time: 15 minutes
- Cook Time: 20 minutes
- Category: Appetizers
- Method: Baking
- Cuisine: American
Nutrition
- Serving Size: 1 slider (85g)
- Calories: 290
- Sugar: 1g
- Sodium: 570mg
- Fat: 16g
- Saturated Fat: 9g
- Unsaturated Fat: 5g
- Trans Fat: 0g
- Carbohydrates: 26g
- Fiber: 1g
- Protein: 13g
- Cholesterol: 45mg
Thousands of Happy Customers Can't Be Wrong About These Bowls!


Leave a Comment